
Table of Contents
- Login Details
- Account Details
- Email Notifications
- Cancel Account
- Whitelabel and PDF Reports
- Subscriptions
- Payment History
Overview
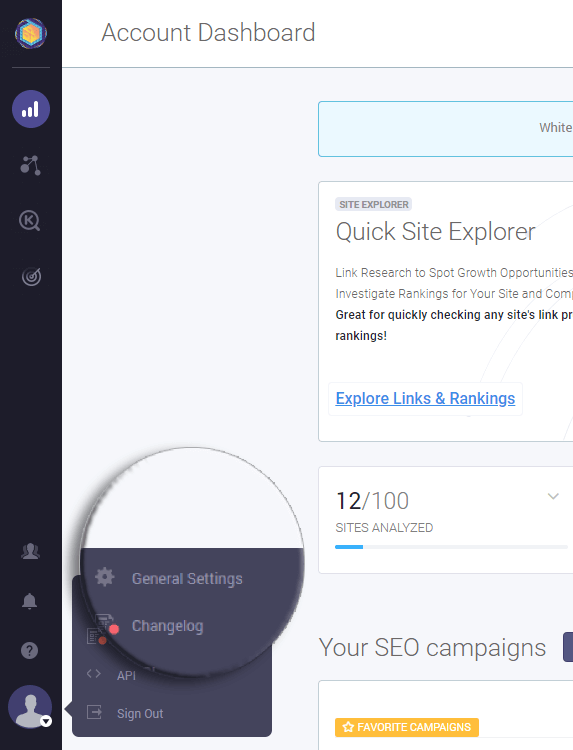
The Settings module is available from the Settings link in the upper-right corner of the screen. In this area of the tool you can manage your Account Details and the settings regarding User Management.
Here are the options in the settings menu:
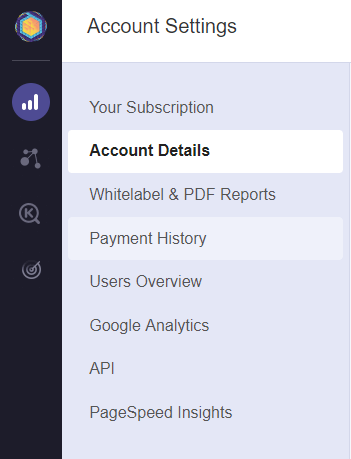
- My Account with Account Details, Whitelabel & PDF Reports, Subscription, Payment History.
- User Management with Users Overview and Add New User.
My Account
In the Account Details area you have the following settings:
Dialog Options
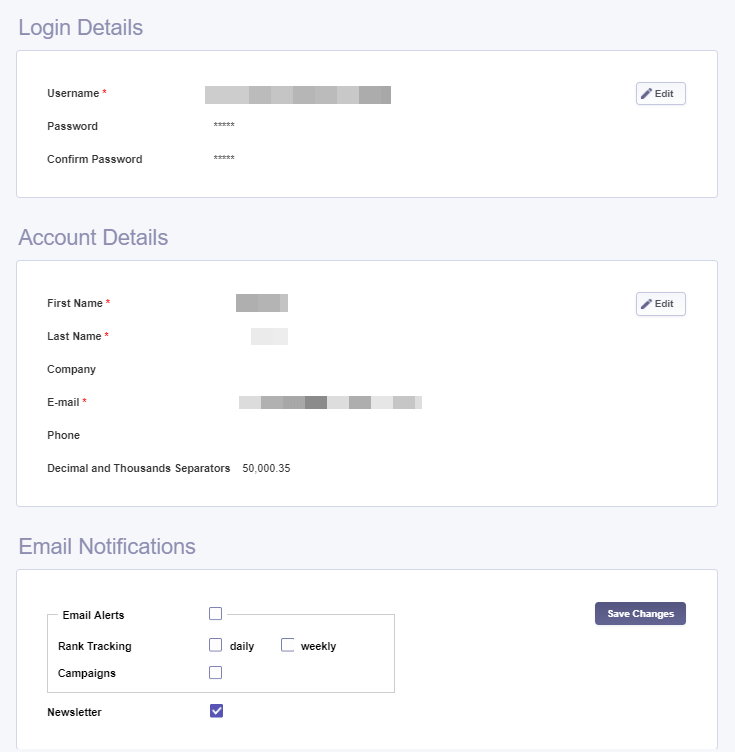
| Login Details | |
| Edit | Press this button in order to make this group of fields editable. In editable mode, the group will look like this: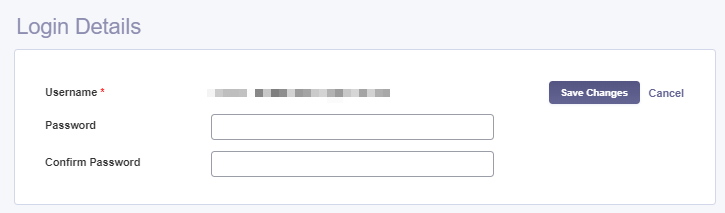
After you’re done with it, you have two options: Save Changes or Cancel. |
| Username | The username cannot be changed. |
| Password | Change the existing password. |
| Confirm Password | Retype the new password. |
| Account Details | |
| First Name | Modify your first name. |
| Last Name | Modify your last name. |
| Company | Insert your company name. |
| Modify your email (must be unique in the system). | |
| Phone | |
| Email Notifications | You can also set the email alerts received from CognitiveSEO and their frequency and opt to receive the CognitiveSEO newsletter. |
| Email Alerts | By checking this option you will automatically opt to receive all email alerts listed below: Link Management (both weekly and daily), Rank Tracking (both weekly and daily) and Campaigns. |
| Link Management | By checking this flag you will receive by email all alerts generated by the Link Management module. |
| Rank Tracking | By checking this flag you will receive all email alerts generated by the Rank Tracking module. |
| Campaigns | By checking this flag you will receive all email alerts generated by the Campaigns module. |
| Newsletter | By checking this flag you will receive via email the CognitiveSEO newsletter. |
Cancel Account
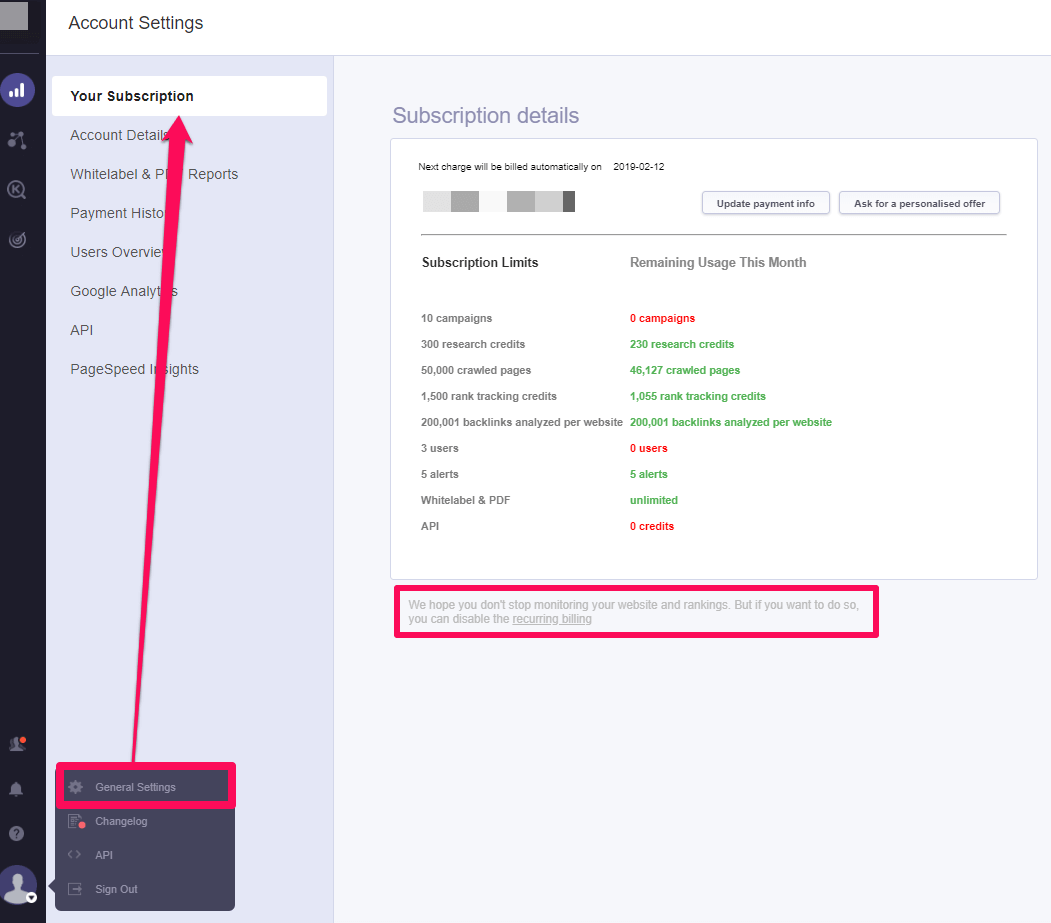
To cancel your subscription simply go to General Settings – Your Subscription and Click on the “recurring billing” link from the bottom of the page.Once you click on the link, the cancellation request is sent. We manually process each cancellation. You will need to reply to the mail that will be sent to you, to confirm the cancellation.
An account is considered canceled once the user receives an email from a cognitiveSEO representative, where is stated that the account is closed and the recurring billing is disabled. Sending a support ticket and asking for a cancellation doesn’t automatically cancel the account.
Whitelabel & PDF Reports
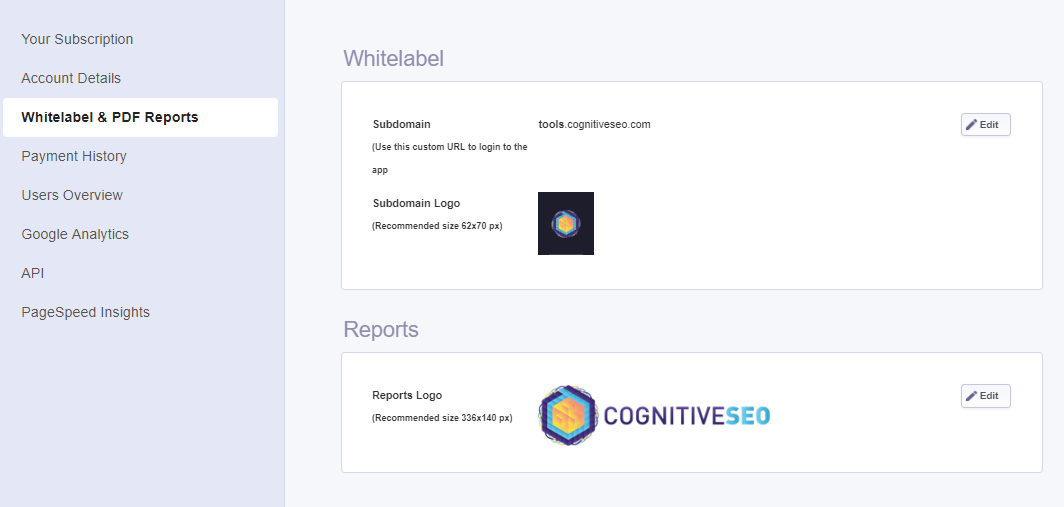 In this group you can set up a “white-label” on the entire account. White-label is a neat option that allows you to rid your reports and screens of the CognitiveSEO logo and upload your own logo, in case you want to present reports and live data to your own clients. The sub-domain can also be changed to a name of your choice. These changes are manually approved by the CognitiveSEO team. If you opt to change both sub-domain and logo, the CognitiveSEO watermarks will no longer appear on the charts.
For PDF reports you have the possibility to add a higher resolution logo.
Subscriptions
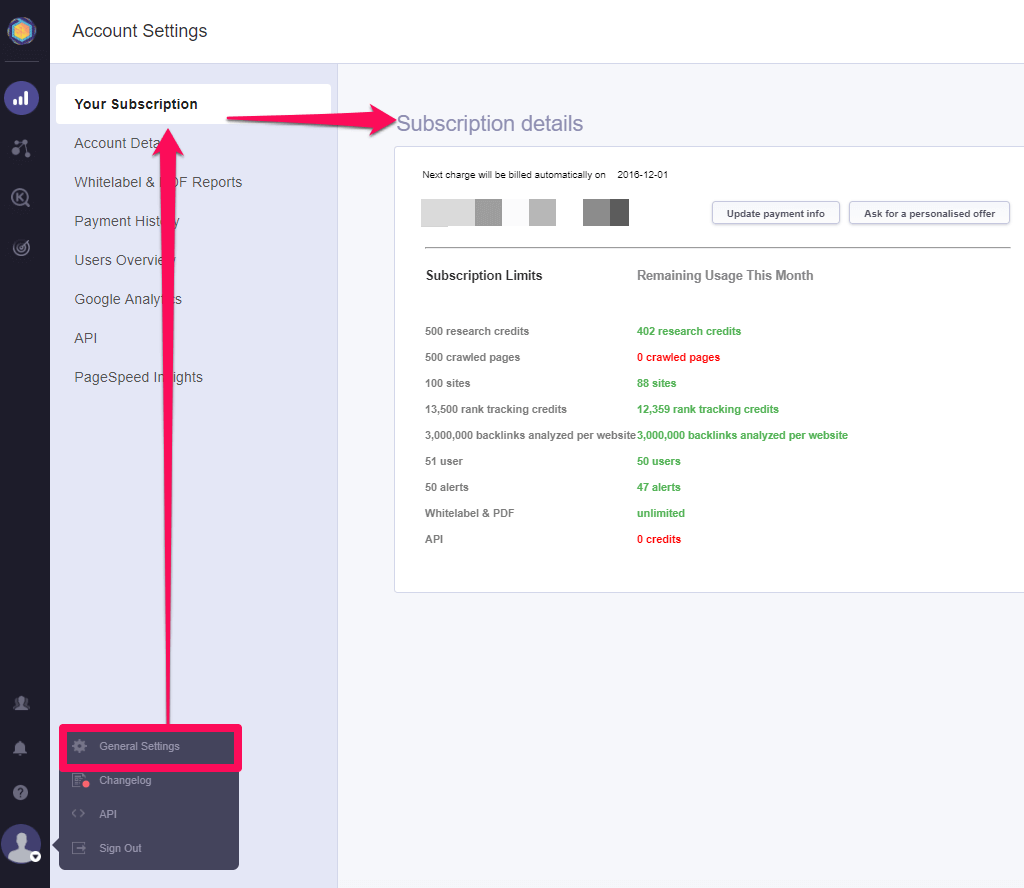 In the Subscriptions group, you can find billing related information. You can see when your next charge is due, what your actual billing plan is and what amount you are paying monthly, your subscription limits and what you have left to use for the current month.
Dialog Options
| Update Payment Info | If you want to update your credit card or PayPal data, you can use this button. |
| Change Subscription | Use this button to upgrade your subscription. |
In the Subscriptions group you also have the possibility to cancel your account. The only difference if you choose to unsubscribe from this area, is that you will be able to use your account for the entire period that you’ve already paid, while in the Account Details area, the Cancel Account option closes your account on the spot (the account is automatically erased and you will no longer be able to access it).
Payment History
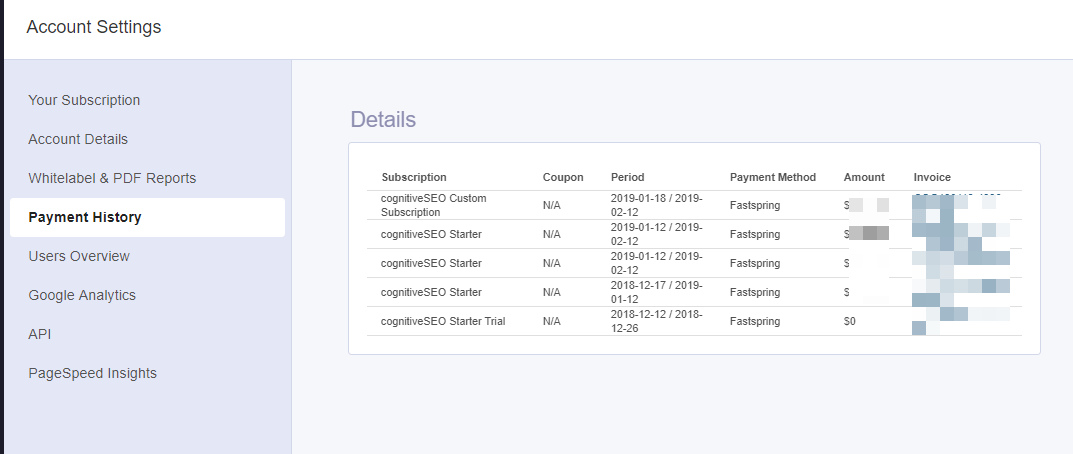 In the Payment History group, you can view all the payments that have been made in the past. When clicking a payment link, the corresponding invoice will be displayed. You can view, save, or print the invoice, as needed.
User Management
In this area, you can view the created users. To modify existing users, you must press the Users Overview item. If you want to create a new user, you just have to click Add New User and the new user form is opened.
User Overview
 By default, this area is in read only mode. In you want to modify the selected user, press the Edit button. The following form is displayed:

Dialog Options
These are the options in the Users Overview area:
| Account Details | |
| User Name | Edit the user name. This field is mandatory |
| Password | Edit the password. This field is mandatory. |
| Retype Password | Retype the password. This operation is mandatory. |
| Profile Color | Choose user profile color. This option comes in handy in the To-dos area, if the user needs to use it. |
| Contact Information | |
| First Name | Edit the user first name. This field is mandatory. |
| Last Name | Edit the user last name. This field is mandatory. |
| Company | Enter the company name. This field is not mandatory. |
| Enter the user email address (it must be unique in the system). This field is mandatory. | |
| Phone | Enter the user telephone number. This field is not mandatory. |
| Personal Note | Add a personal note for the user, if necessary. This field is not required. |
Add New User
These are the options in the Add New User area:
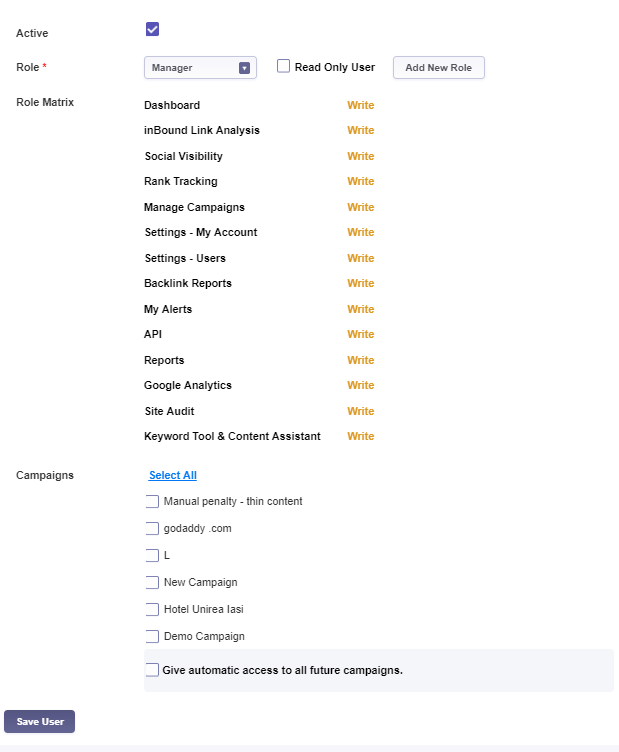
| User Access | |
| Active | You can use this flag to activate or inactivate a user. If a user is created but inactive, he/she will not be able to logon into the system. |
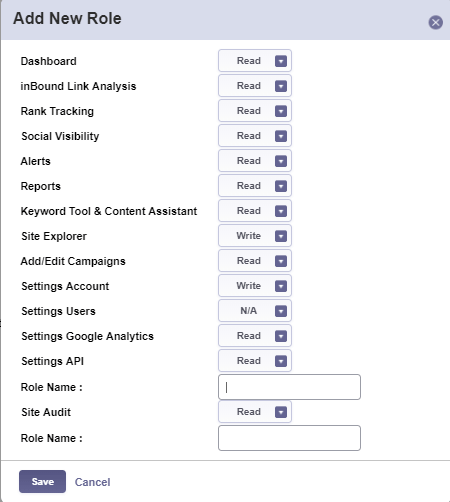
| Role |
In this drop-down you can select from a number of predefined roles. If you want to create a new role, use the Add New Role button that displays a list of all possible rights that can be assigned to a new user. This list actually includes all the application modules and the rights available for assigning for each module. You can assign a user the right to read a module, to write it, or you can restrict the access in a certain area. In the last case, the user will not be able to access the corresponding area in the application. Under the Role assignment combo, the Role Matrix is displayed, in accordance with the user rights selected for every application module. |
| Read Only User | Check this flag if you want to give the user only reading access to the site modules. |
| Add New Role | Use this button to add a new role. The following dialog is opened:
|
| Campaigns | You can assign any number of campaigns between zero and all available. The users you create can be used both for your own team as well as for your customers. For example, if you set white-label on the entire application and you create an account for your clients, they will be able to login with read only rights, only on the modules you choose to give them viewing rights, and only on the campaigns of interest to them. In this way, your clients can see in real time how their campaign evolves and the work you are putting in for them. |
After the new user is created, it will be displayed in the existing users’ list. In this list, you can use the Delete and Modify options to remove/change users.
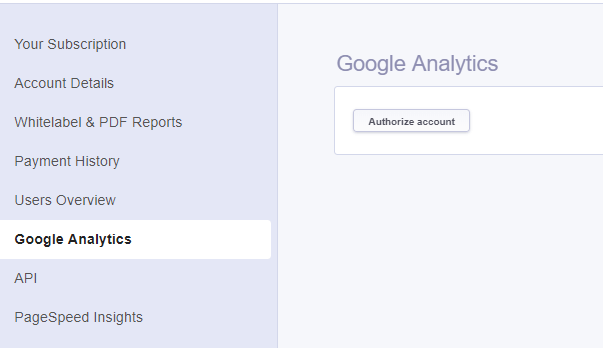
Authorizing your Google Analytics account is a vital step in order to visualize data from your Analytics account directly into cognitiveSEO. Google Analytics Widgets can only be displayed if you authorize your account first.
You can easily authorize and de-authorize your account and you can also manage your sub-users access to Analytics data by following the steps regarding Google Analytics Authorization Management.
API
For custom subscriptions, there is possible to enable an API key. Once you have enough rights to access that resource, you’ll see here the key code for your APIs. Here you can see all of our available cognitiveSEO APIs.
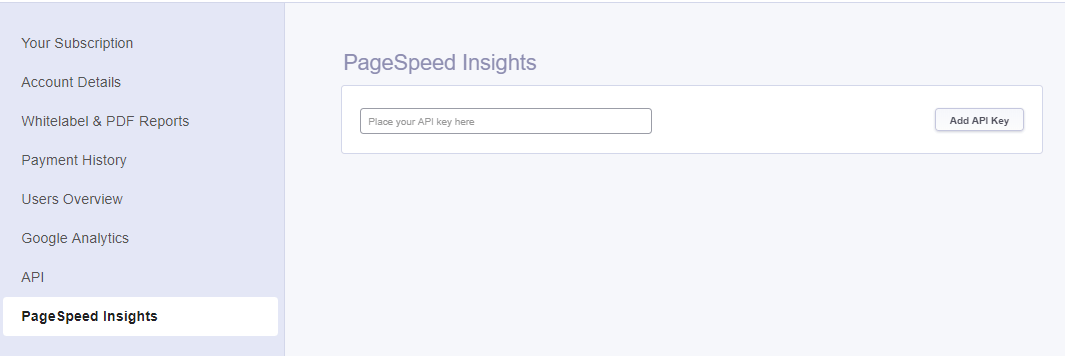
If you have an API key for the Page Speed Insight you’ll see here any information for that. This key is available for the Site Audit tool.